This morning I walked outside and for the first time felt that fall was in the air! I had a pumpkin spice latte from Starbucks this past weekend, so I guess it’s official! I’m definitely ready for scarves, boots, crisp air, no humidity [hence good hair days!] crock pot dinners, and football!
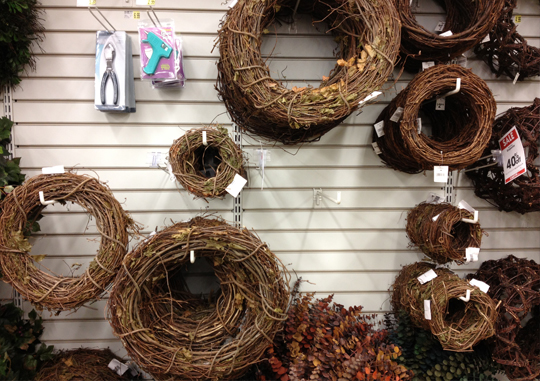
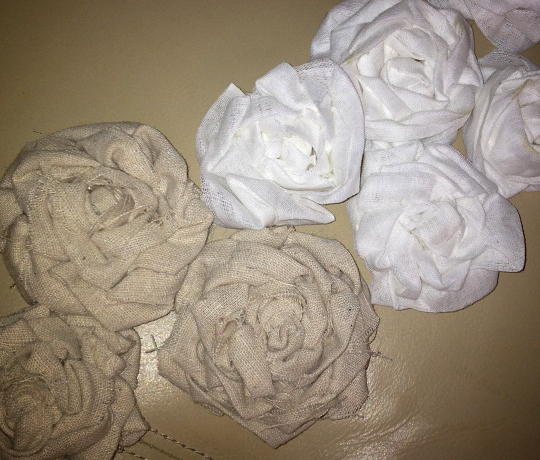
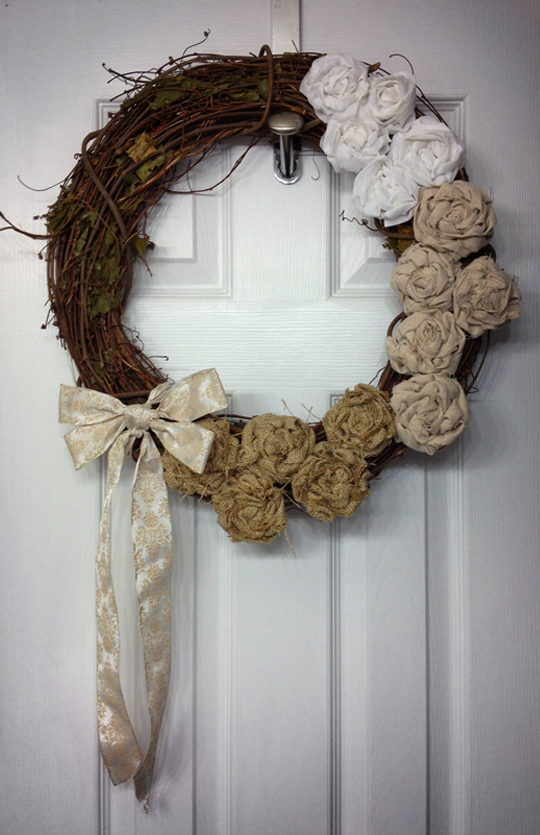
Last fall I had a wreath-making craft night at my house, and I’m thinking we’re due for another fall crafting event. AC Moore always has seasonal deals on wreaths, and you can usually find additional coupons in the mail. I purchased a grapevine wreath to start, and half a yard of three different kinds of fabric from Joann’s. I really wanted my wreath to feel natural and to have a lot of texture, so I went with neutrals in varying thicknesses. I chose a white cotton, a tan linen, and a burlap.
I cut approximately 2″ wide strips of each fabric and then ironed them lengthwise to bulk up the rosettes and make the process quicker. We discovered that a flat iron made this step really quick and easy!
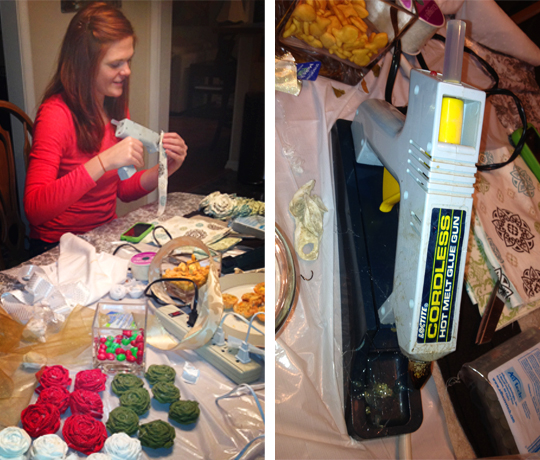
Making the rosettes themselves is pretty simple once you get the hang of it. You start by tying a knot in one end and then folding the fabric in on the knot as you wrap it around the knot [you can also fold the fabric out as you wrap for a slightly different look to your rosettes.] I used dots of hot glue pretty liberally as I went, and then touched up loose spots when each rosette was complete. When you get to the end of the strip of fabric, you just tuck it underneath the rosette and glue it in place.
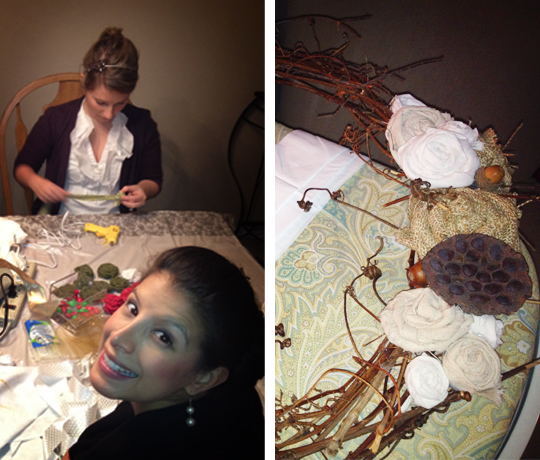
After making five rosettes of each color fabric, I laid them out the way I wanted them and then just glued them to the wreath! I tied on a bow and that was it!
It was a lot of fun, and I’m looking forward to having another craft night soon!




No Comments
There are not comments on this post yet. Be the first one!